I began by cutting the bases out of cardboard. Use whatever materials you prefer, I used this particular cardboard because it: (a) is easy to cut with EMT scissors, (b) a fairly durable weight (think tablet backing or similar), and (c) it was free.
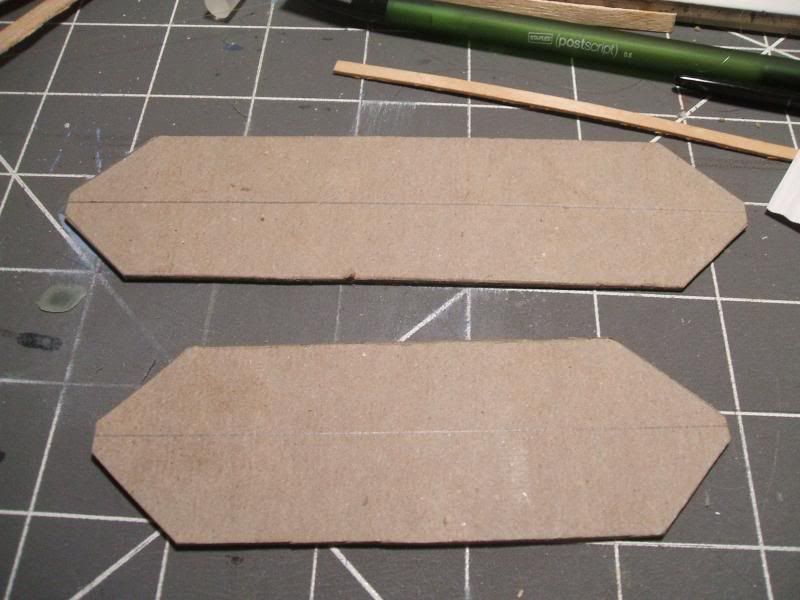
They are lozenge shaped so that the base will not interfere if you need to set up two straight sections as a corner, or if you would want to make a 3 or 4 way intersection of walls.
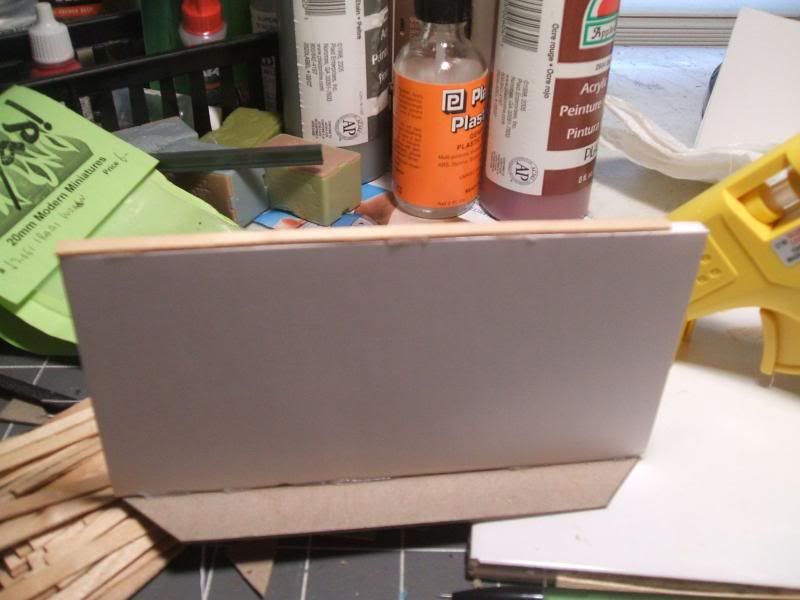
Next I cut out the foamcore wall sections for each base. I allow a slight overhang on each end, to further clear any intersecting bases. Use a SHARP blade for this, and don't try to cut all the way through in one pass. Make each cut with three separate strokes. Cut through the outer paper layer, then cut through the inner foam, then finally through the paper layer on the underside. If you start to drag or pull out small bits of foam or paper, get a new blade. Using a hot glue gun I affix the foamcore to the base, and then affix a section of wood coffee stirrer to the three exposed edges of the foamcore. I use a low-temp glue gun as I always end up getting glue on my fingers - having burned myself with the high-temp stuff once I learned it sometimes pays to not use something similar to napalm as a glue. Note that the wood framing is optional - you could easily cover the exposed foam with pva/white glue and just paint over it. Or you can use whatever other material you might like instead.
After your basic wall section is attached, and framed in, attach your corrugated card sections. Below is the tool I used to create them.
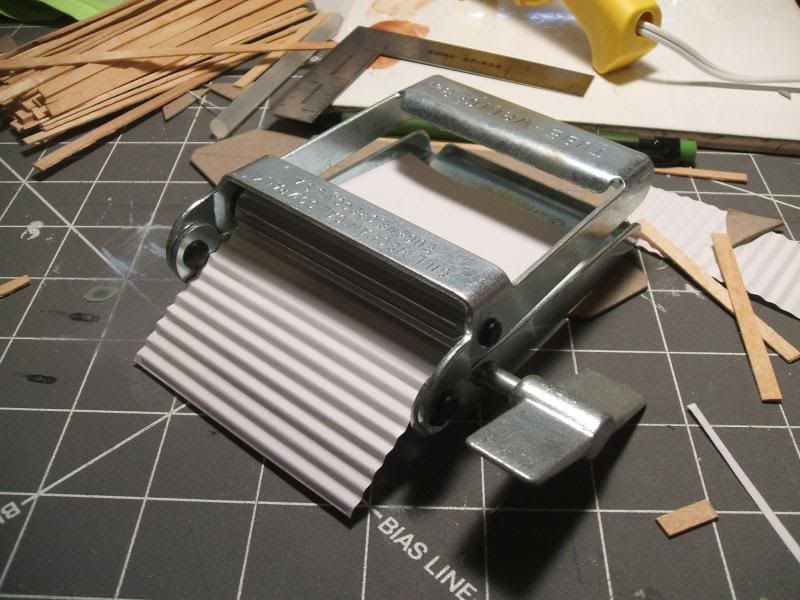
A 3"x5" card fits almost perfectly, a bit of experimenting will show you the best way to guide the card through. This one is a "Tube Wringer" made by the Gill Mechanical Company, Eugene OR. Its original purpose was for wringing tubes of paint. It or another like it should be available at any well-stocked art supply store. As I recall it wasn't very expensive.
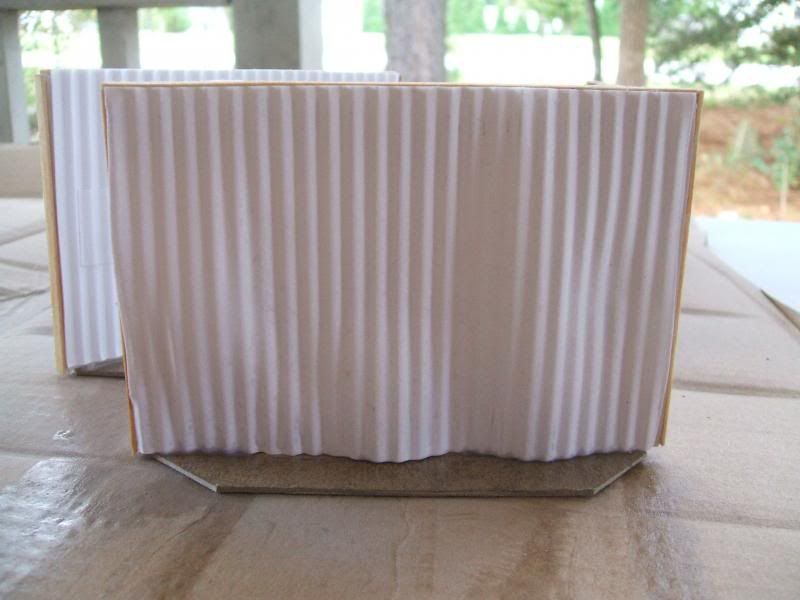
A basic wall section with a section of card attached will look something like this:
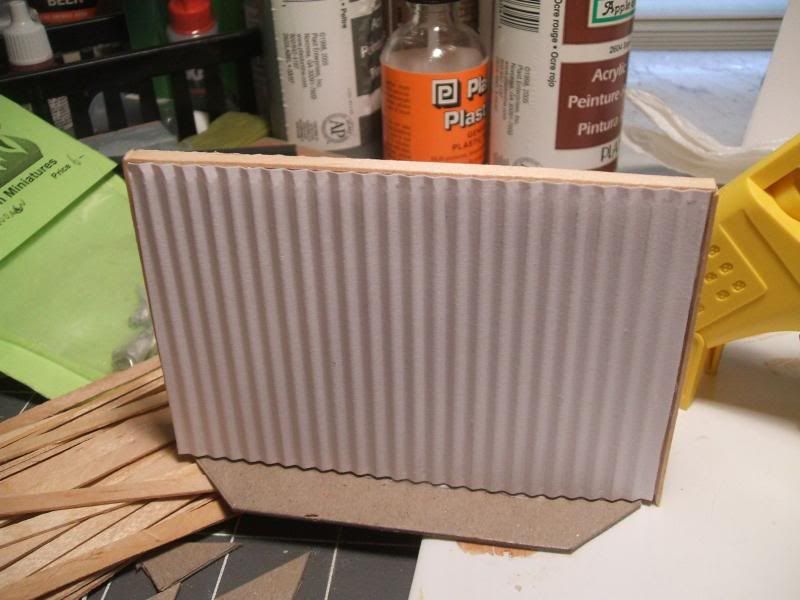
You can apply one section of card, or cut up smaller sections to apply with a bit of pva/white glue for a scruffier patched look. As Bob Ross would tell us, its your world, you make it the way that makes you happy. Bob was a nice guy. We could probably all stand to be more like that. But for those times we encounter people who are just being mean, we have walls. So back to building those. Make sure you apply enough lines of the hot glue to really hold the card down. This becomes important in the next step.
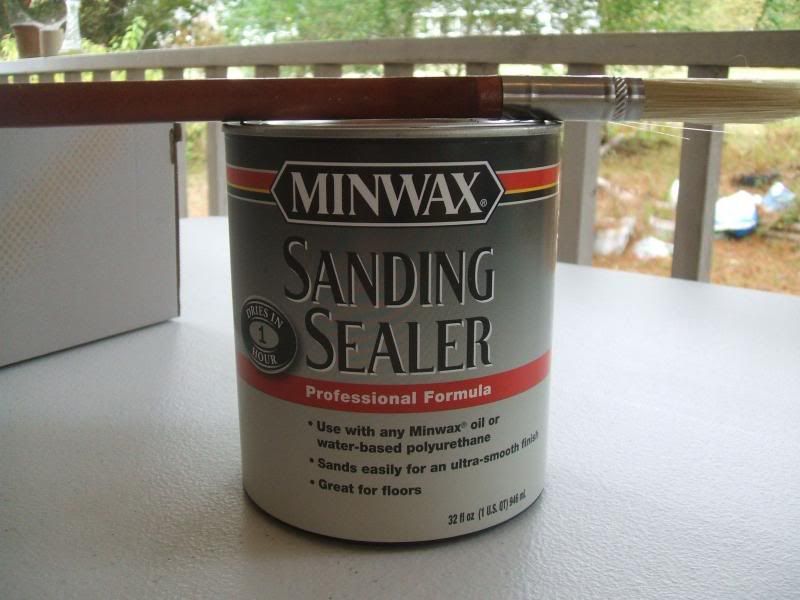
Next I painted a coat of sandable sealer onto the base and the entire corrugated section and wood framing. This is the kind I used, it was $16.00 at the local DIY big box store. Shake or stir it well. It applies easily and cleans up with water.
Apply a very light coat to the corrugated paper, too much and it will encourage warping of the paper itself. This is more evident if one does not glue the corrugated bits down well enough. As I discovered. *Ahem*
If this happens don't worry. If the warping isn't too severe you can just leave it as some sort of damage or shoddy construction. If it is severe (or you don't like the way it looks - remember, its your world!), you can use a hobby knife to cut through the center of the warped bit, gently hold each side open and apply some pva/white glue or superglue or whatever under each side, then hold them back in place until they stay down. Glue a suitably sized scrap corrugated bit over the cut and voila, lemons to lemonade. Thats what eventually happened to the rather warped piece shown above. Bit of minor surgery and its ready for some paint. But that will be our next tutorial. Happy building!
No comments:
Post a Comment