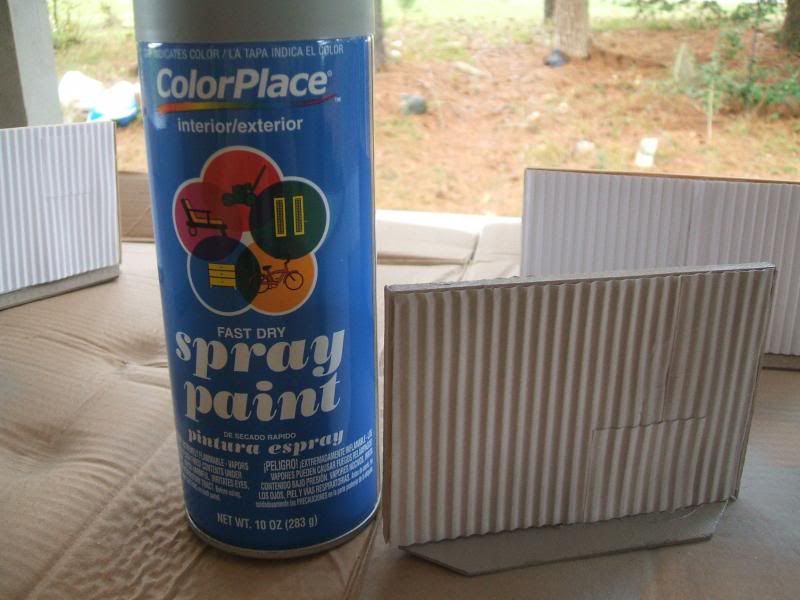
Cheap spray paint for primer. In my case, some $1.00 flat grey from the local big box store. Its cheap, it works, and if there is a problem with it I can return it for another can with pretty much no hassle. Compared to any of the expensive boutique/hobby sprays its no question which to buy, IMO
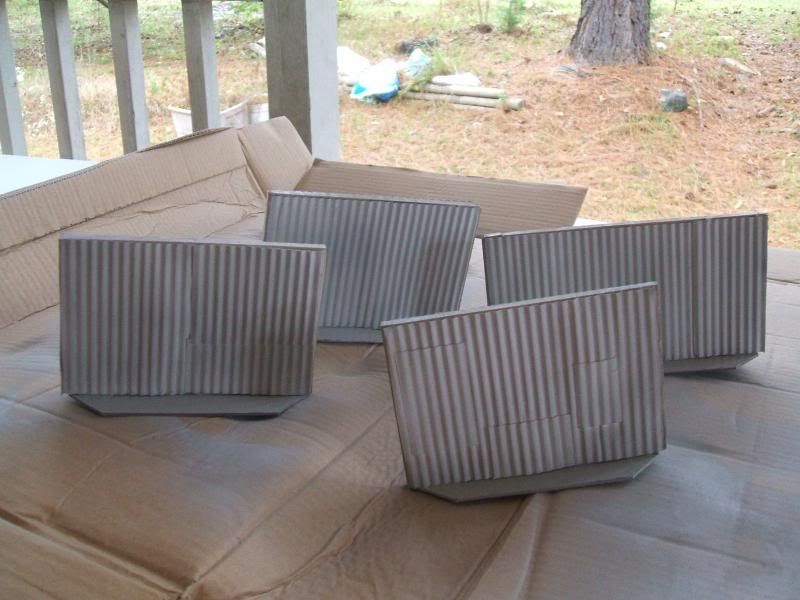
Once you have sprayed a few light, even coats on all faces of the wall section, let them dry thoroughly. With flat paint this will not take more than a half-hour, generally.
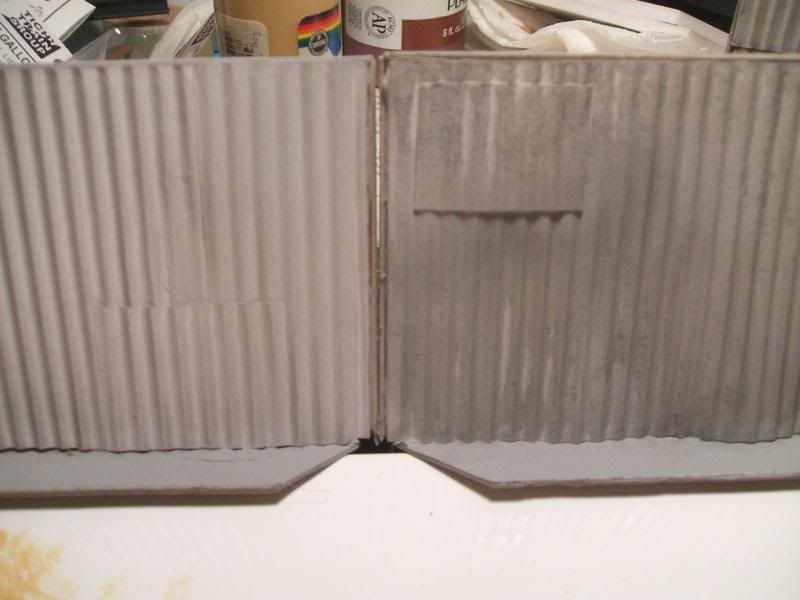
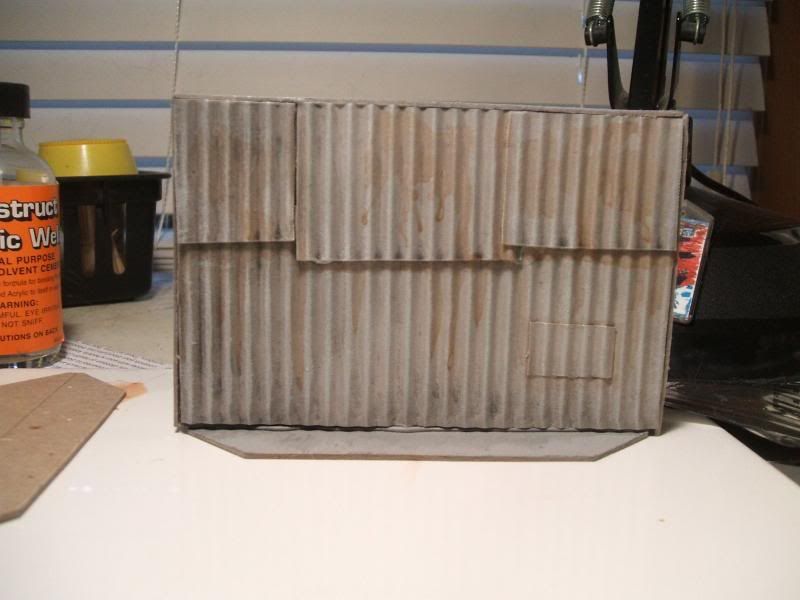
Now the sections are grey, but in my case, very light grey. And very flat. To make them look a bit more "real", we'll give them a black wash to define some shadows. There are many ways to create a black wash. My preferred method is to mix up a bit of black acrylic craft paint with a suitable amount of "Magic Wash". If you don't already have some Magic Wash, its easy to make using a 50:50 mix of water and Future acrylic floor polish. I make it without pigment so that I can mix it with whatever colour I need to make an appropriate wash. But use whatever wash works for you. If, after it dries, you find it still too light for your desired result, apply another wash. Compare the sections in the pic below. On the left is the freshly primed section, on the right is a section after an application of black wash. I ended up applying it again to further darken it up (as well as hit all those spots I missed!).
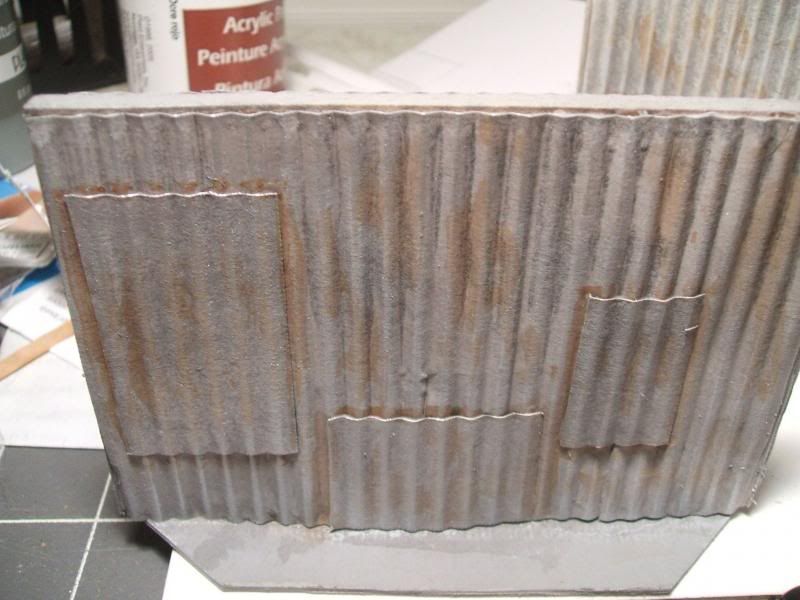
After the sections have reached your desired level of dark greyness, make a 50:50 mix of medium grey and white or just use a very light grey. Apply a heavy drybrush to the high edges of the corrugations to really make the edges pop. At this point you can use a sandy tan colour to dry brush the wood bits, this will pick up the grain and really accentuate the weathered wood look.
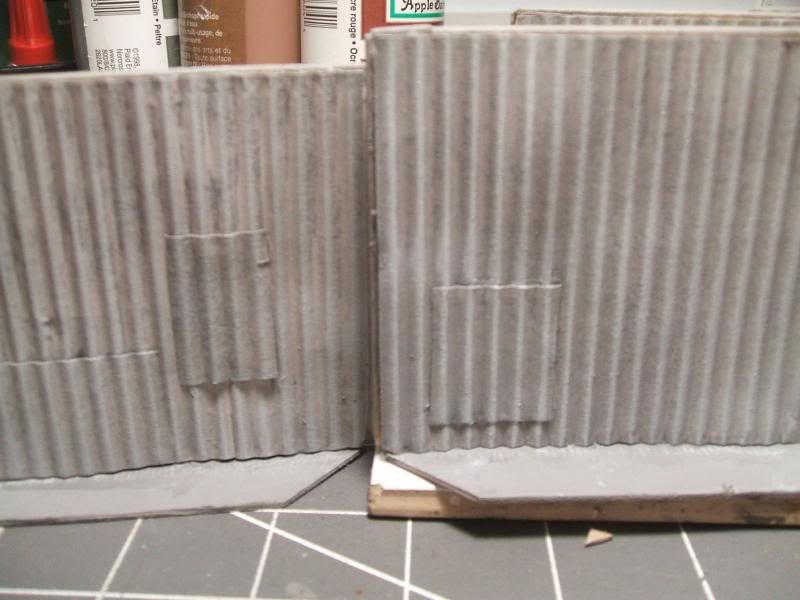
Now to further dirty up the "metal" parts of the sections, mix up a brown wash. A brown with a bit of a reddish cast works best to bring out a rusty effect. Apply in blotches and also along all edges of plates or sheet edges. As you apply it, quickly wipe off any that covers the high points/light grey highlights to keep the contrast between the high and low areas. I just swipe my finger across it, but a paper towel works too if you are more inclined to be neat.
You could just call it good at this point, but if you are so inclined you can also add a final highlight to the "metal" bits - a drybrushing with silver. This will really make the edges of any "repairs" pop.
All thats left is to finish the basing. But thats for another day.
No comments:
Post a Comment