Ok, no real bacon in this one. Sorry. When we left off, we were starting to place the siding on the exterior.
In this case, I used a new (to me) product in place of my usual Plastruct or Evergreen sheets. The JTT sheets come two to a bag and are much lower priced...something that made a huge difference the day I went to the train shop. This was about half the price of the other brands, so I celebrated the savings by picking up some roofing material at the same time. Since this is a simple home, some basic clapboard siding was chosen. You could just as easily use brick or whatever else strikes your fancy. Remember Bob Ross.
Note that this says HO scale, but I am working on an O scale project. Remember what I said about "looking right"? In this case I just liked the size of the boards better than the actual O scale sheets.
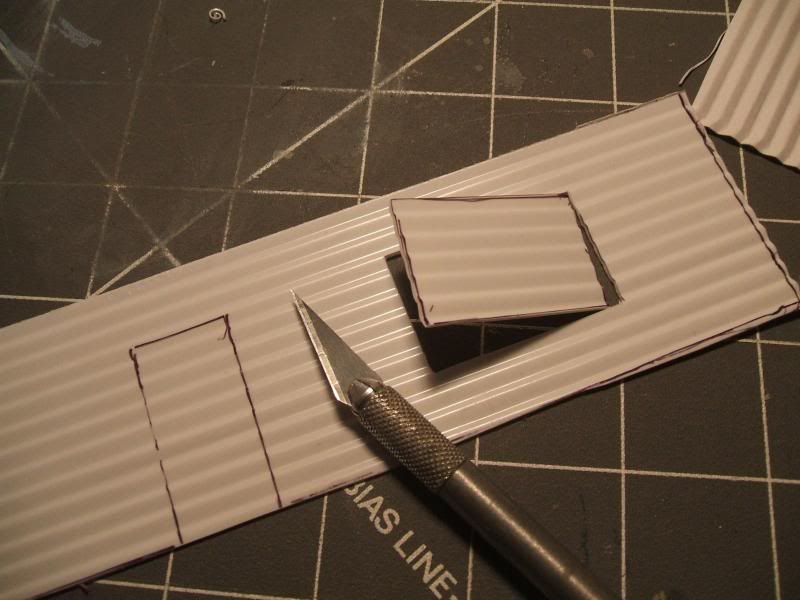
I started by cutting out the sections I would need, along with the door and window openings. These were traced on the backside of the sheet and carefully cut out with a (sharp) hobby knife.
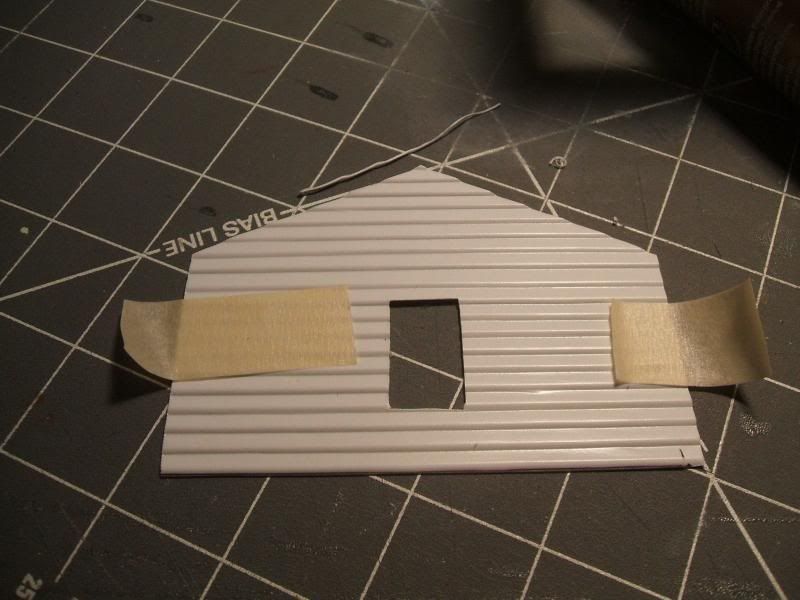
**IMPORTANT** These sheets have a definite directionality. Make sure you have the piece correctly oriented before you start cutting. You may not notice that the siding is upside down now but I bet it will be rather obvious once you put some paint on it later. The tape is on this piece so that its one less thing to fiddle with during application.
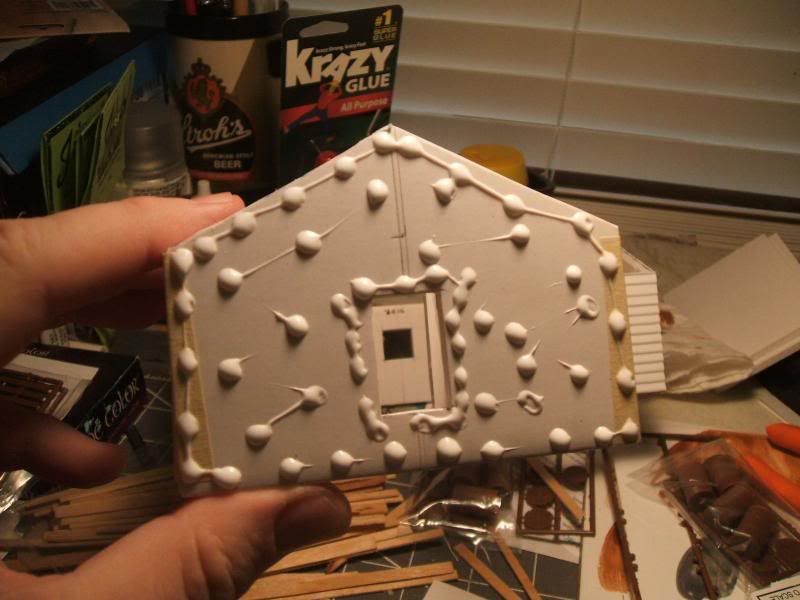
The pva/white glue was put on as shown, then spread out so that is a thin coating. You only want it thick enough to form a good bond with the siding. Too much and it will warp the foamcore. Make sure you have a good bead of glue around any window and door openings, along with all outer edges of the wall. This will help ensure that a good strong bond and lessen the chances that you will catch the siding on something and cause it to separate from the foamcore.
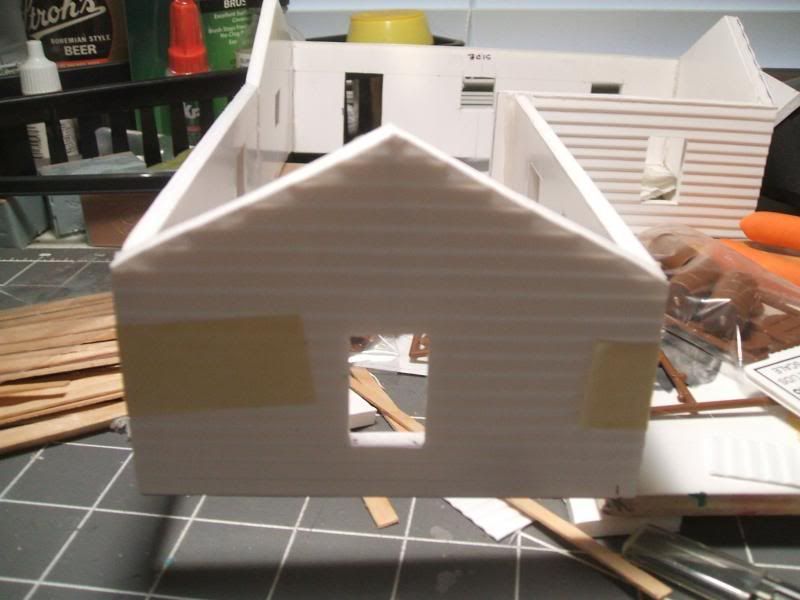
Once you have it positioned where you want it, gently tape it into position until it dries well. Today that has taken about an hour, but your mileage may vary. At this point you can also apply the white glue to any exposed edges of the foamcore to prevent damage from the spray primer later on. But if you want to take a little extra time to fancy it up a bit...
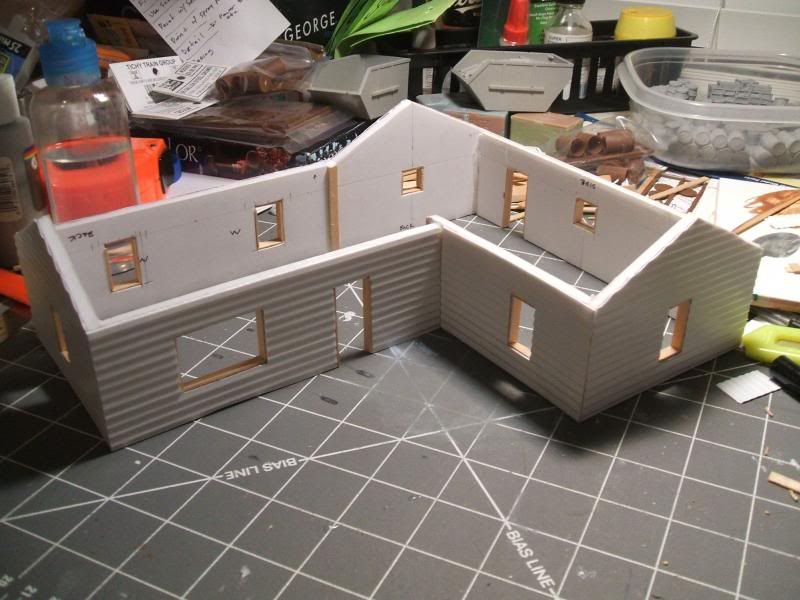
Add some wood or plastic strips to the framing of all windows and doors. Yes, it takes a bit of time but unless you are in an extreme hurry the effort is worth it. This really defines the openings as windows and doors instead of just a hole in the wall.
It is also useful for covering up unsightly joins on the interior walls. Next up - installing a floor. That will do double duty as both a place to put a rug and as a means to help strengthen the structure.
Sort of related - finally got a proper frame and hung up this inspirational poster that my daughter got me a while back. A bit of art always brightens a dark corner. Even in an apocalypse.



No comments:
Post a Comment