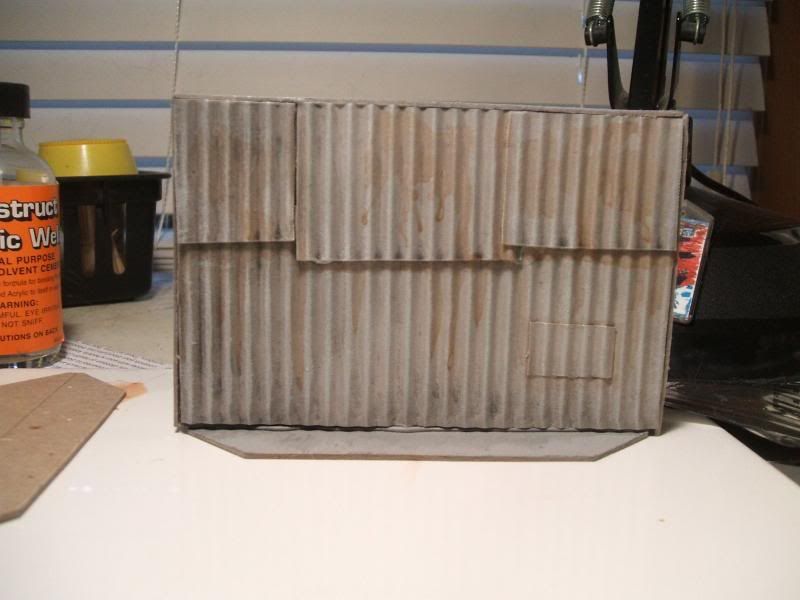
What a difference a splash of paint makes. Bit more colour and some weathering, pretty much done except for the basing. Then the raising of the walls begins.
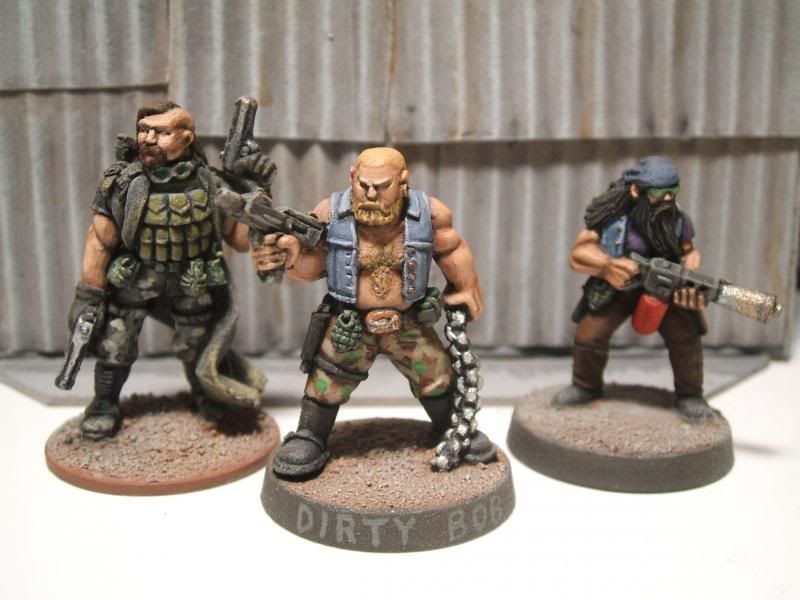
And a few of the local neighbors stopped by to say hello.
Tuesday, October 15, 2013
The Walls of Valhalla Falls
I need a lot of walls to surround even a section of town. Before attempting to bang out 20-some-odd linear feet of wall I want to be sure that my construction and painting method is viable. No sense making a dozen feet of the stuff only to figure out that it will, for some reason, warp or fall apart.
The basic methods and materials will be familiar - foamcore, thin cardboard (like a tablet backing), 3"x5" index cards, wood coffee stirrers, pva/white glue, and hot glue. Something new (to me) I used is sandable sealer, which was recommended to me by a fellow madman, err, gamer. Once my entire construction and painting technique is proven I will post step-by-step instructions with pictures. This will include damaged and breached sections in case things become...dynamic...out on the perimeter.
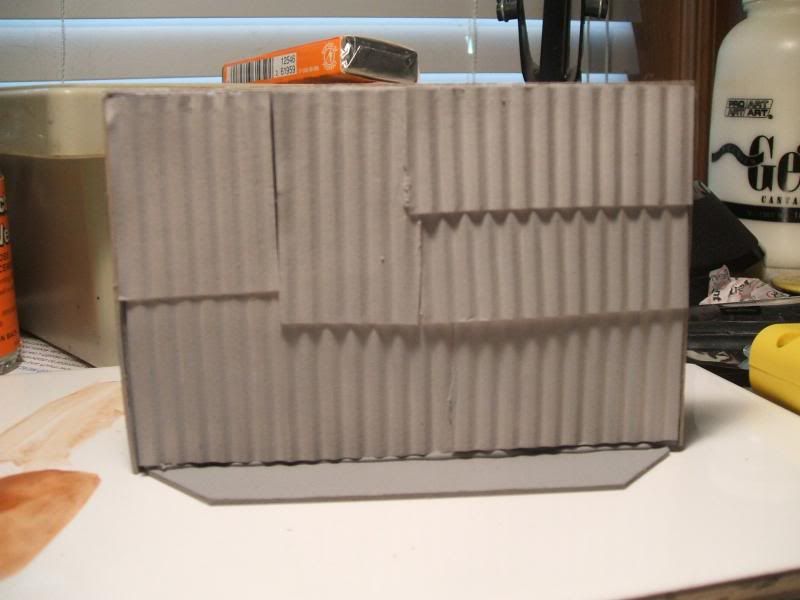
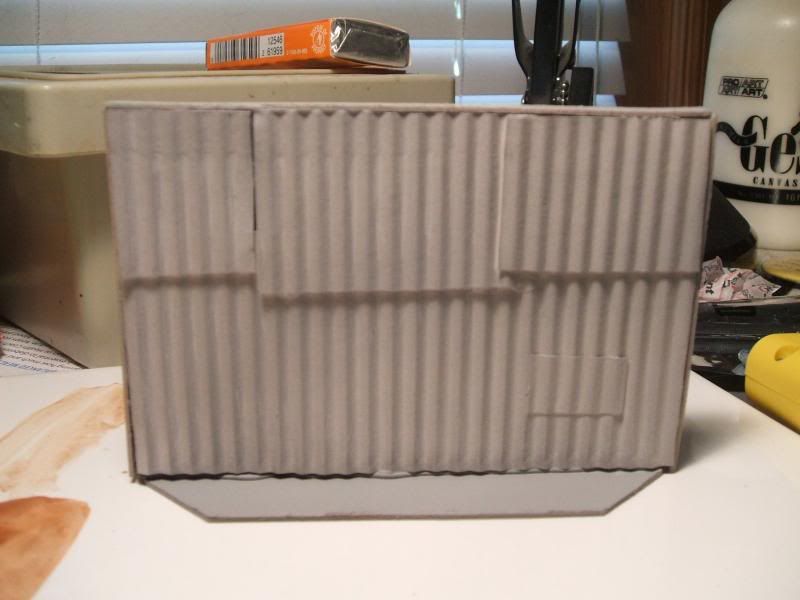
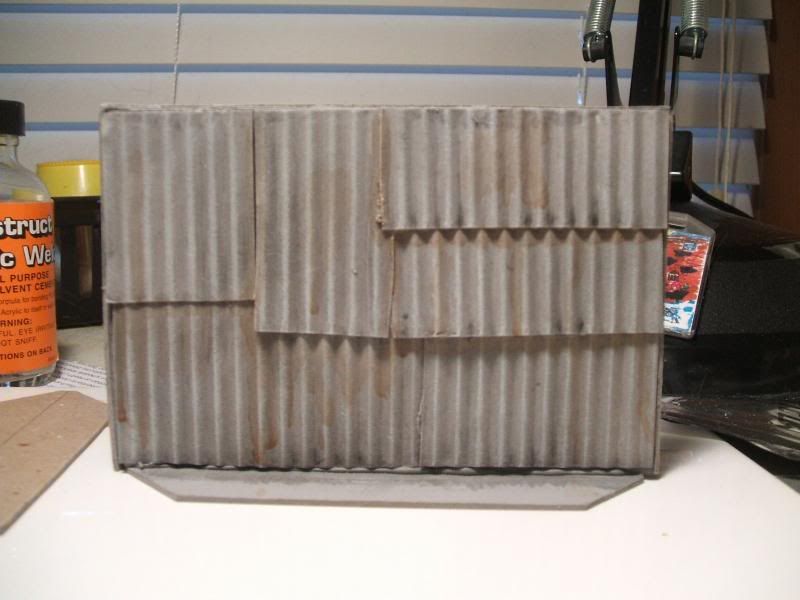
Both sides of the first section. This measures 3" high and approximately 4 5/8" long. The lozenge shaped base is 1 1/2" wide, so very stable. The corrugated pieces are cut from a 3x5" index card that I ran through a tube squeezer for oil paints. The edges of the foamcore are covered by a "plank" of wood coffee stirrer glue on with pva. At this point it has been glued together, sealed with sandable sealer, and hit with a primer coat of grey spray paint. I have tried for a sort of improvised look, not too neat but still sturdy. The painting continues.
The basic methods and materials will be familiar - foamcore, thin cardboard (like a tablet backing), 3"x5" index cards, wood coffee stirrers, pva/white glue, and hot glue. Something new (to me) I used is sandable sealer, which was recommended to me by a fellow madman, err, gamer. Once my entire construction and painting technique is proven I will post step-by-step instructions with pictures. This will include damaged and breached sections in case things become...dynamic...out on the perimeter.
Both sides of the first section. This measures 3" high and approximately 4 5/8" long. The lozenge shaped base is 1 1/2" wide, so very stable. The corrugated pieces are cut from a 3x5" index card that I ran through a tube squeezer for oil paints. The edges of the foamcore are covered by a "plank" of wood coffee stirrer glue on with pva. At this point it has been glued together, sealed with sandable sealer, and hit with a primer coat of grey spray paint. I have tried for a sort of improvised look, not too neat but still sturdy. The painting continues.
The Madness Begins
Recently, while perusing the vendor's wares at a local convention, I purchased the Two Hour Wargames After The Horsemen ruleset. Being a fan of the post-apocalytic genre in all its forms I had been wanting to add it to my pile of rulebooks for some time. After reading through it a bit I think it will work well for the style of games I enjoy. A few tables down I came across the excellent Wargames Factory Apocalypse Survivors box sets. Looking at the sprues and all of the great bits included I immediately purchased some (1 each of the men and women).
Anyone who knows me is all too aware that I normally do pretty much everything in 20mm. One could say I am a fairly hardcore adherent to the belief that 20mm is The One True Scale, but these 28mm figures were so intriguing I decided to use them for a game. Heck, an entire campaign based on a town and its interactions with an increasingly perilous world.
First up - some walls!
Anyone who knows me is all too aware that I normally do pretty much everything in 20mm. One could say I am a fairly hardcore adherent to the belief that 20mm is The One True Scale, but these 28mm figures were so intriguing I decided to use them for a game. Heck, an entire campaign based on a town and its interactions with an increasingly perilous world.
Subscribe to:
Posts (Atom)