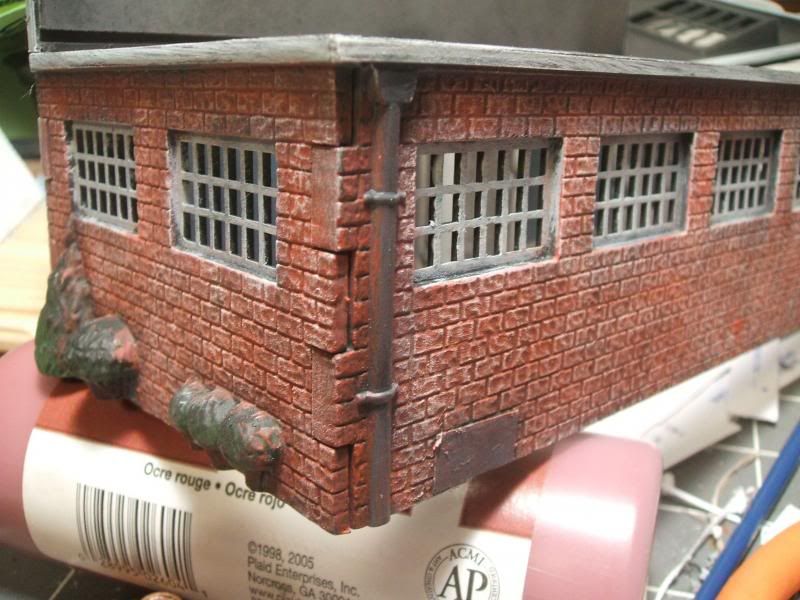
...a burst of activity!
Been a while since my last update. Real Life (tm) took over for a bit, but I have finally guided my focus back to VF. Back to shouting into the void.
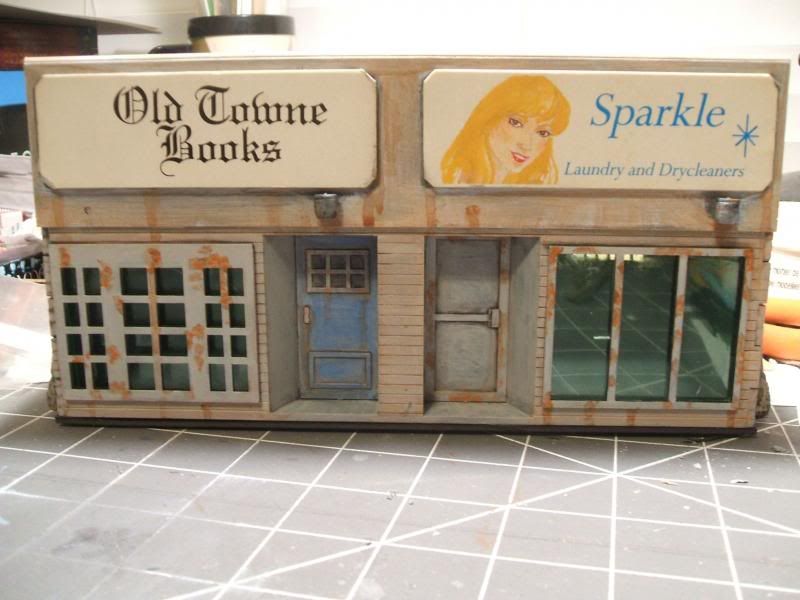
Among the haul of buildings I procured at the model railroad show was a small shop - actually two shops in one building - from K-Line.
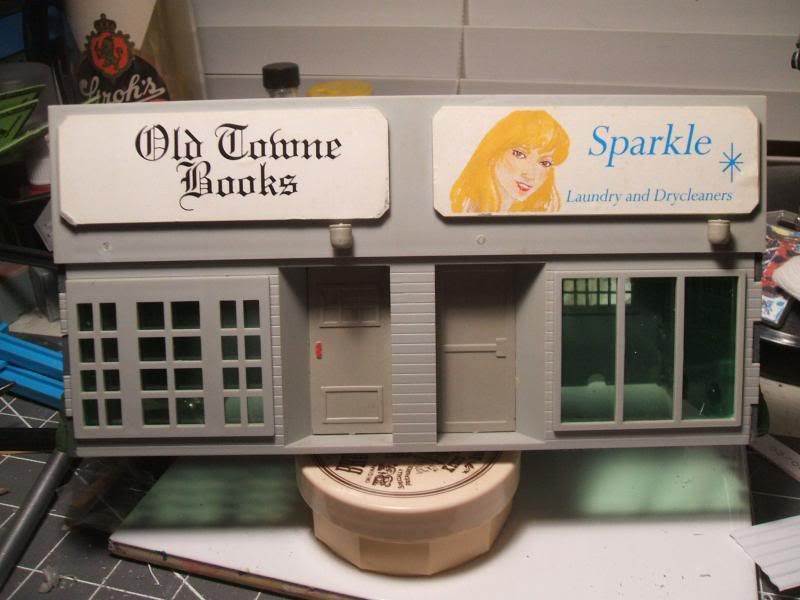 |
| Oooh, only 22 clicks to make this appear this time! |
|
|
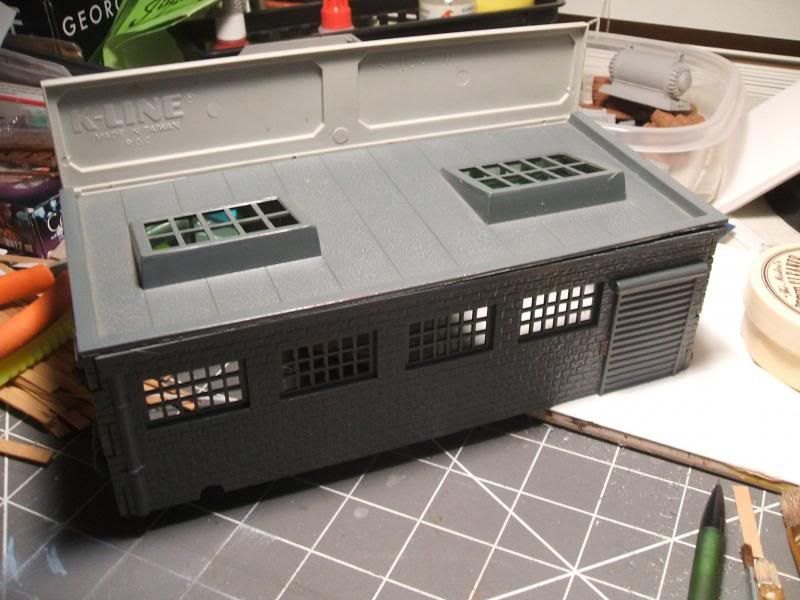 |
| Fairly basic, but mutants don't mind. |
|
Its a nice little pair of shops just waiting to be reworked into a reminder of what civilization used to be like. Soon, they will become any number of things. As long as those things involve scavenging and hardship and no electricity or email.
First thing was to get the building structurally ready for gaming. I have to be able to put minis inside the buildings at times so that roof has to come off. Many times with these older model railroad kits they were assembled using unknown cement many decades ago. Often the cement was applied very sparingly and by now has let go, allowing the buildings to come apart with a minimum of effort. Did that happen in this case? No. So out came the hobby saw for a bit of judicious surgery. One of the things I like about this building is that the roof sits in a recess and allows the saw to be inserted into the actual glue joint. As we will see in some future posts not all buildings afford such a luxury.
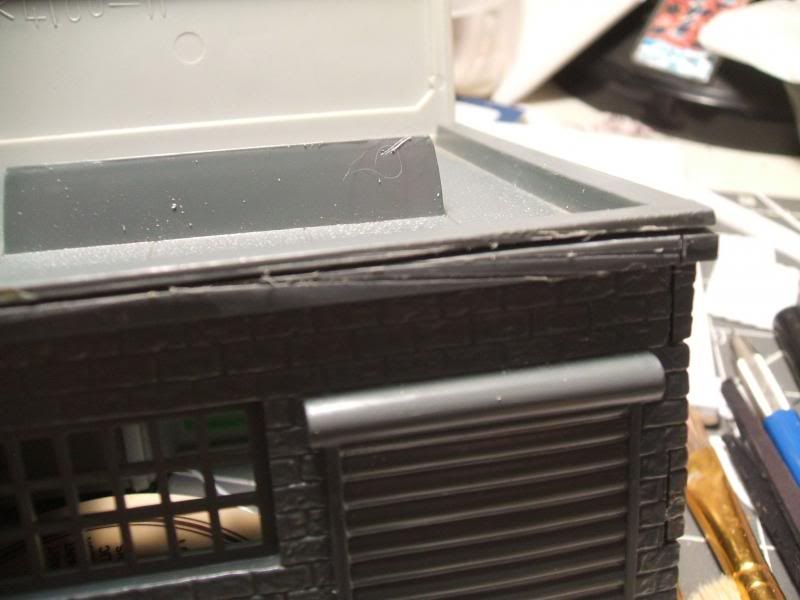 |
| The aftermath of The Saw. A bit sloppy (oops) but it worked. |
After carefully (ok, I still managed to gouge a part of the roof detail - arrgghh) sawing the glue joint around three sides of the roof it came off with a minimum of effort. Some of these old kits are a bit brittle so one must be judicious when it comes to prying anything apart.
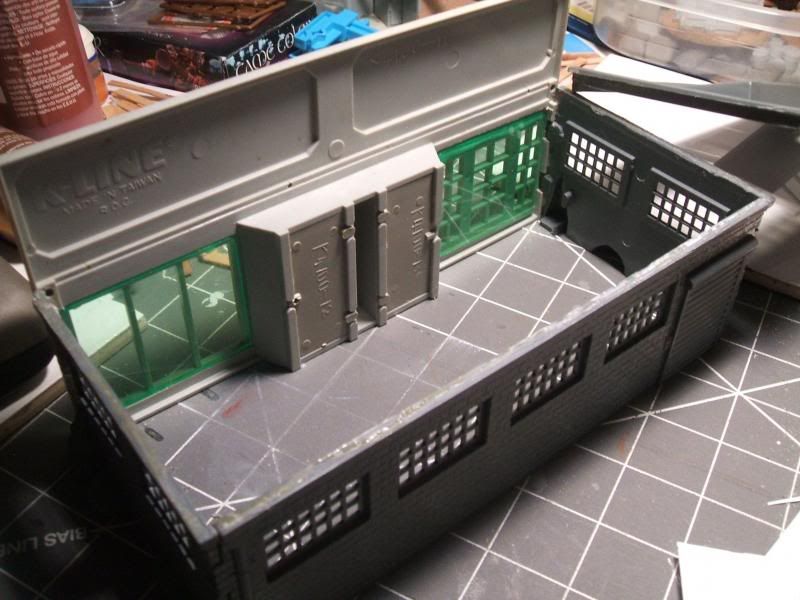 |
| The interior. Indeed basic but its a great starter ruin! |
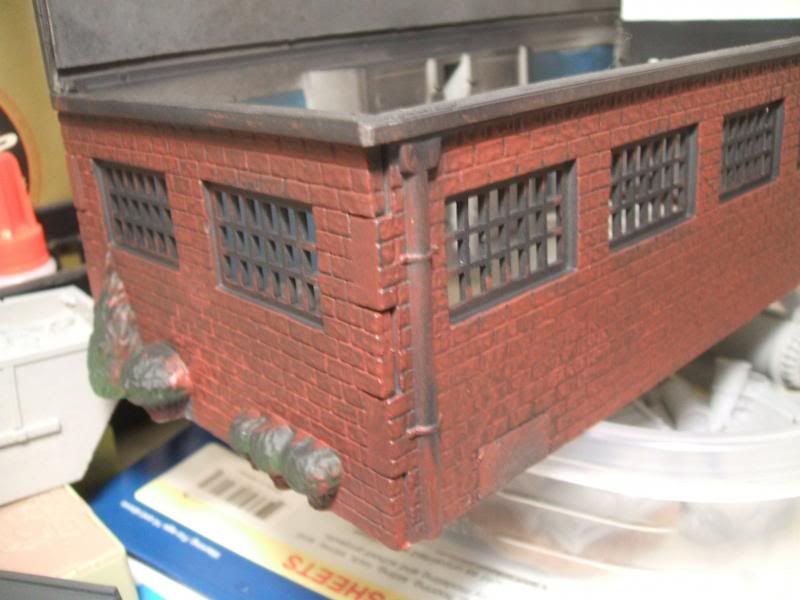
Some of the details (bushes) are molded into the walls and leave some annoying voids. You can ignore those or do as I did and attempt to cover them up.
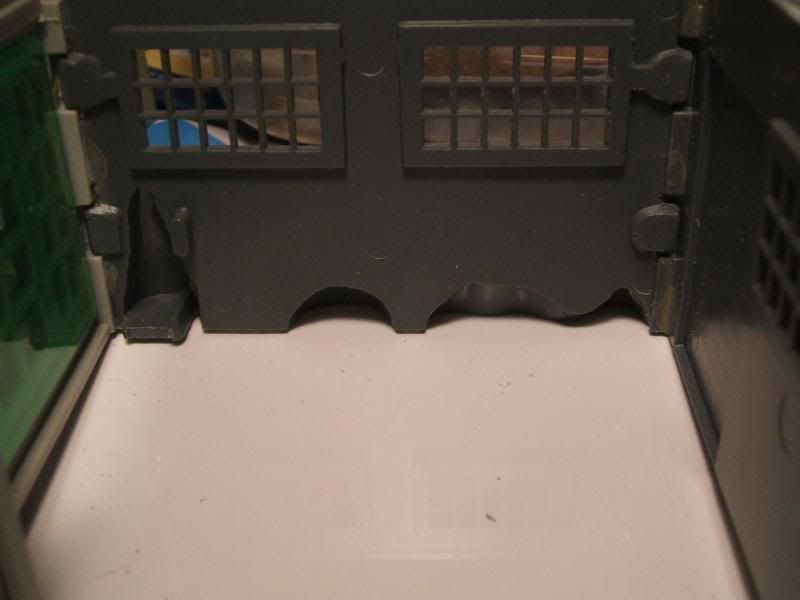 |
| Annoying voids. |
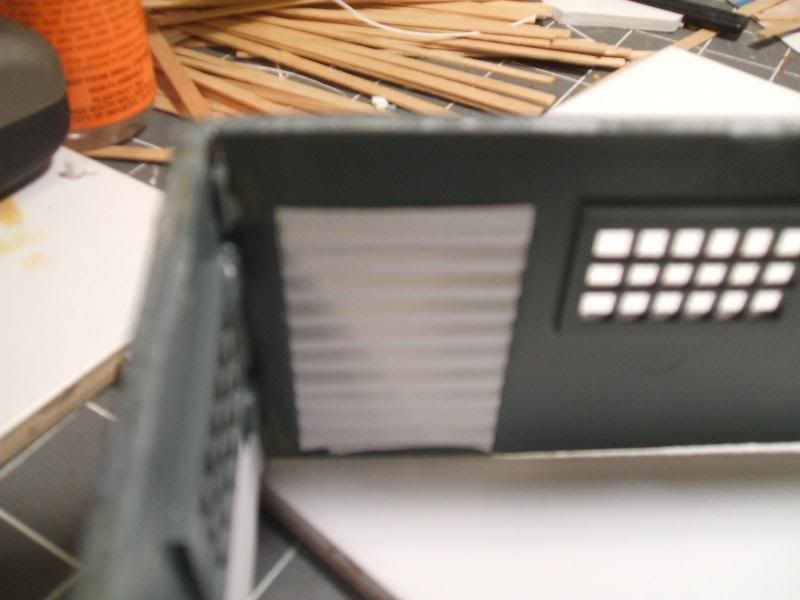 |
| Even more annoying - not having a decent pic of the covered voids! |
The inside of the roll-up door was a bit bland on the inside so that was covered up with a bit of corrugated card. There was also a small cutout at the bottom of the left rear corner for wiring that was also covered up with a small bit of plain cardstock.
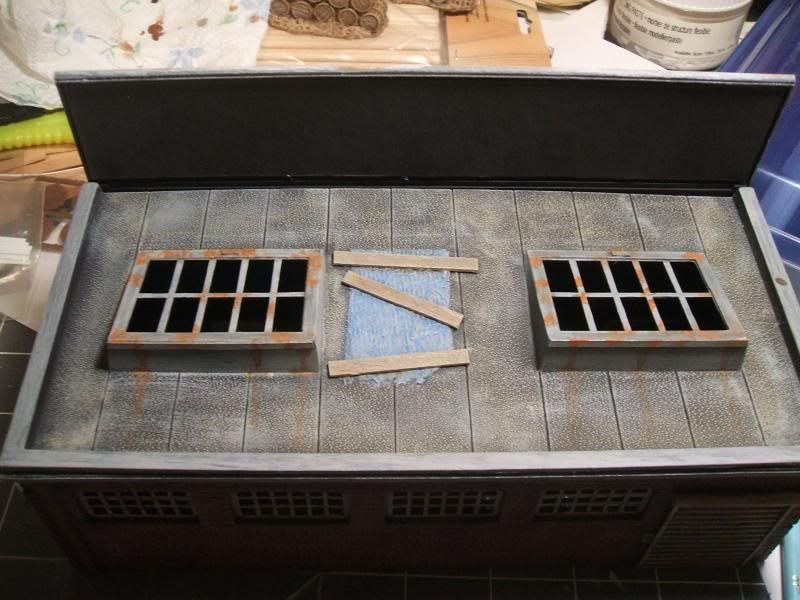
A few other details were added. The back of the sign received a bit of thin cardboard to fill in the largish void (with "K-LINE" in huge relief letters) and the skylight windows got a bit of "hinge" strip and a small "latch". A strip of very thin plastic was added to the rear roof detail to cover some of my ham-handedness with the saw. The front door also got a small bit of plasticard to help define one of the door pulls. Its the little details that make your buildings not look quite so much like the recycled ancient plastic kits that they are!
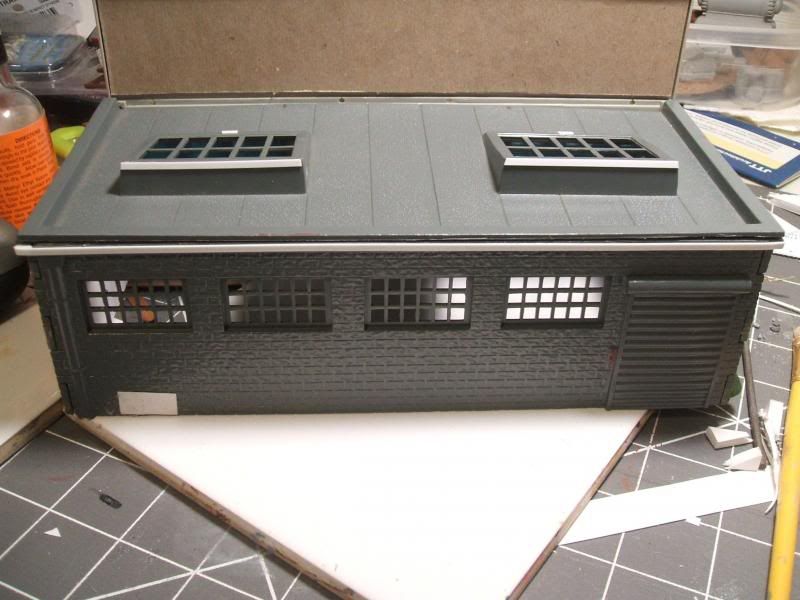 |
| It all seems so innocent now... |
Next up - The Masking of the Red Death. Ok, not that, but masking those funky green windows in the front. I debated trying to take them out but they had the best glue joints on the building. Removing them would have meant prying, cursing, and shattered green plastic. And enough shards remaining to make it tough to replace the windows so they got the tape and card treatment.
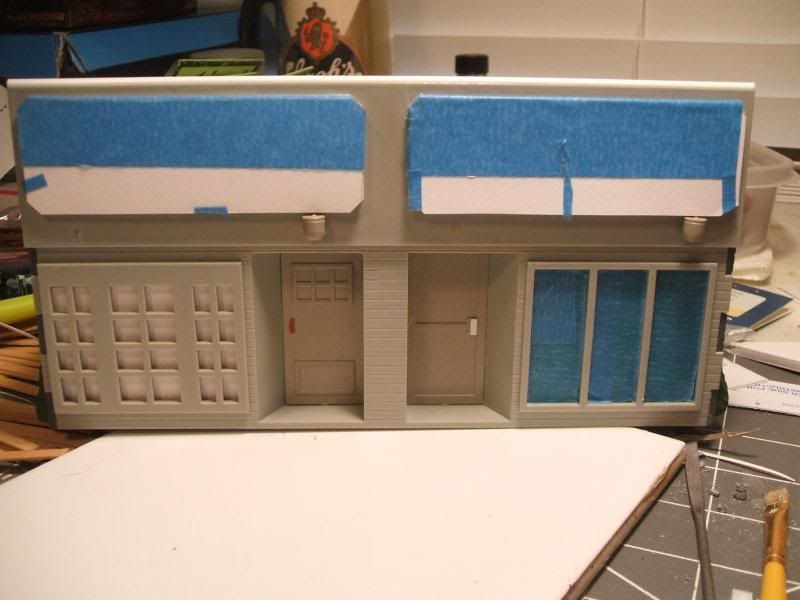 |
| Coming soon - Bookstore of the Damned! |
|
|
I blasted everything with some $1.00 flat black spray paint from my local discount store. Do I have a picture of the primed building? Of course not but you can use your imagination, right? So lets start with the brickwork.
I started with a heavy damp brushing of Apple Barrel #2604
Barn Red. Yes, I use a lot of craft paints. Its what they were made for. Help them fulfill their purpose! It looks a little strange at first but we will fix that.
Next I gave it another, lighter damp brush with Delta Ceramcoat
Red Oxide. This brings out more of the "brick red" colour we associate with, well, bricks. Then when thats dry, a drybush of light grey (in this case Delta Ceramcoat
Quaker Grey. Dont use
Quacker Grey or it will look like a duck. But I digress.) I also gave the windows and roll up door a coat of grey. Starting to look more like a building now.
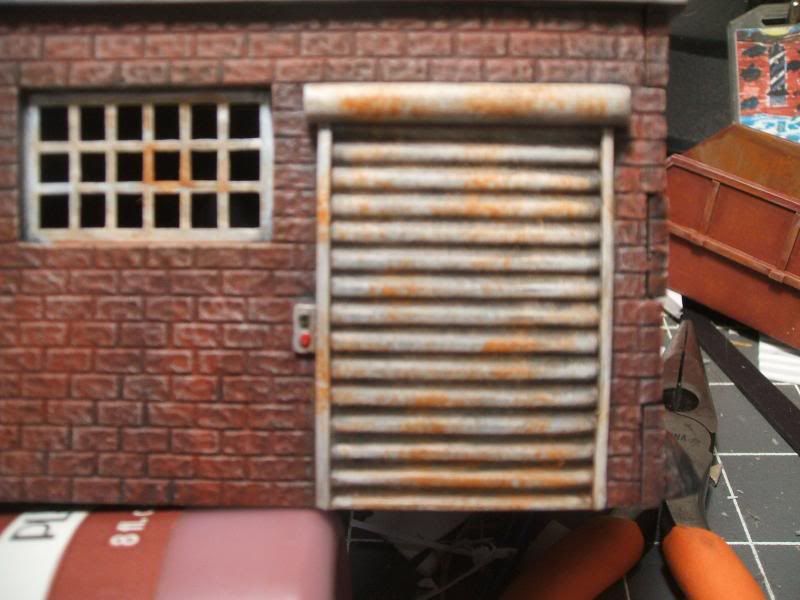 |
| Slightly out of focus. Sorry! |
The windows and doors were then given a damp brush of pure white followed by a brown Magic Wash and then stippled with some orange (Citadel Foundation
Macharius Solar Orange in this case. Hey, I don't
always use craft paints) to bring out the rust and neglect of decades without maintenance. The door control buttons were hit with a dab of green and red. They no longer work but they should at least look the part, right?
Next time, we'll look at whats going on in the front of the building. Hopefully it wont take a month.
